As a Wired Watts affiliate, I earn from qualifying purchases. If you make purchases through the links below, you are helping support this site!
Assembling a Pixel Controller
Building a pixel controller is very similar to building a PC. You basically pick out the components you want, and screw and wire them together. You can mix and match parts to a large extent to ensure you have a solution that matches what you want to accomplish this year as well as leave room for future expansion of your show. It takes some basic wiring skills, and a couple of hand tools, but is really pretty easy for anyone who has done other DIY projects. I find this is the most rewarding way to go — you save significant money and you really develop a better understanding of how everything works.
Here are the basic parts you need to build a pixel controller:
- Controller board — this is sort of like the motherboard in a PC — this is what actually wires to your lights, providing power and data signals
- Some (like Kulp) are a “cape” that sits on top of a BeagleBone Single Board Computer (SBC) — the SBC runs the operating system (in this case Falcon Player – FPP) and can eliminate the need for a separate Raspberry Pi SBC running FPP
- Many controllers usually take direction from FPP running on a separate SBC on the network, with the most popular being Falcon; Falcon controllers run proprietary firmware instead of using FPP as an operating system, as do Baldrick, HolidayCoro and others
- Some can run xLights sequences directly off a memory card inserted into the board – this can make show updates challenging, since you will need to physically eject the memory card and plug it into a computer to change sequences vs. just pushing changes over the network – this is good for static shows or remote locations without a network
- SBC designed to support the controller board (only if using a cape type board)
- Mini-SD card extender (optional) — for tight spaces to make it easier to access SD memory card
- Power supplies — one or more AC to DC power supplies sized to accommodate the expected loads on the controller (usually assume 80% max load on supplies); MeanWell brand power supplies are generally considered the “gold standard” among lighting enthusiasts, however there are slightly cheaper generic alternatives (my controllers use MeanWell)
- Heavy gauge wire – usually 10 gauge hookup wire to connect power supplies to board
- Cabinet — waterproof cabinet sized to fit all components; can be pre-drilled with required holes for cables or can drill own
- Power cord — power cord to bring power from AC outlet to power supplies
- Pig Tails — short cables that will exit the cabinet through waterproof “glands” that will connect to the lights (provide power and data signals) — quantity will correspond to number of ports on your controller
- Cable glands — various sized waterproof glands that allow cables to pass through cabinet — usually sized for power, pig tails (e.g. xConnect) and ethernet
- Mounting plate kit — vendor and cabinet specific mounting plate kit to attach board and power supplies; some people choose to DIY this, but a pre-made solution saves lots of time and effort
- Vent kit — provides air vent for cabinet to keep everything from overheating
- Pole mounting kit (optional) – designed to mount controller onto metal pole (often MegaTree pole)
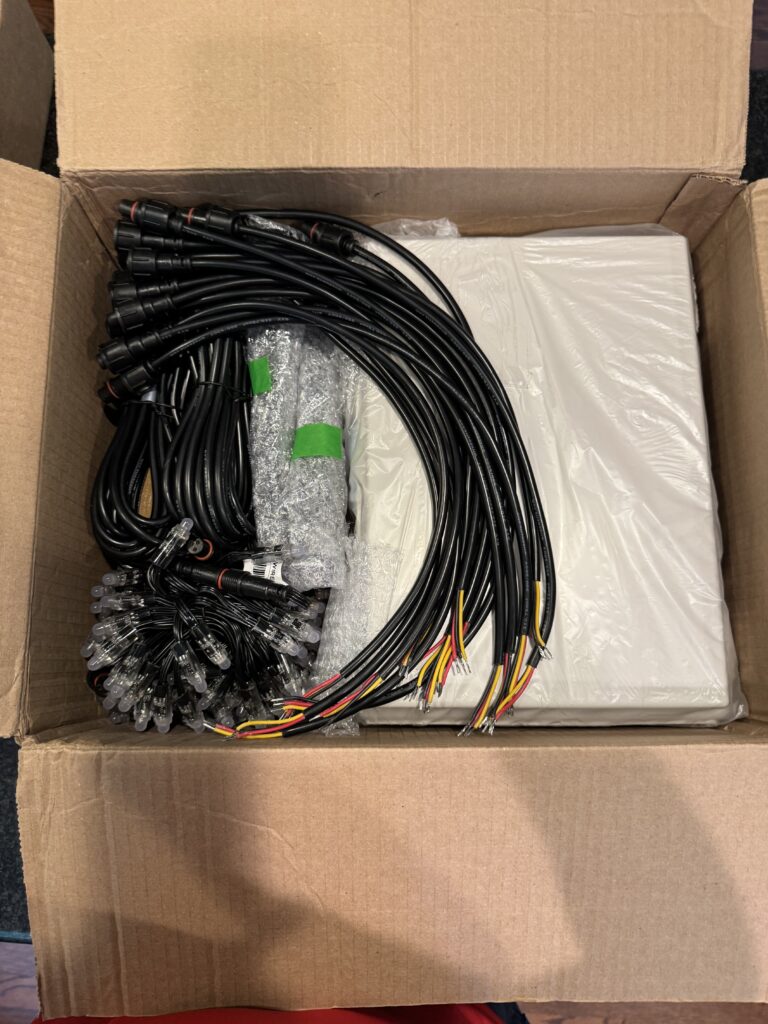
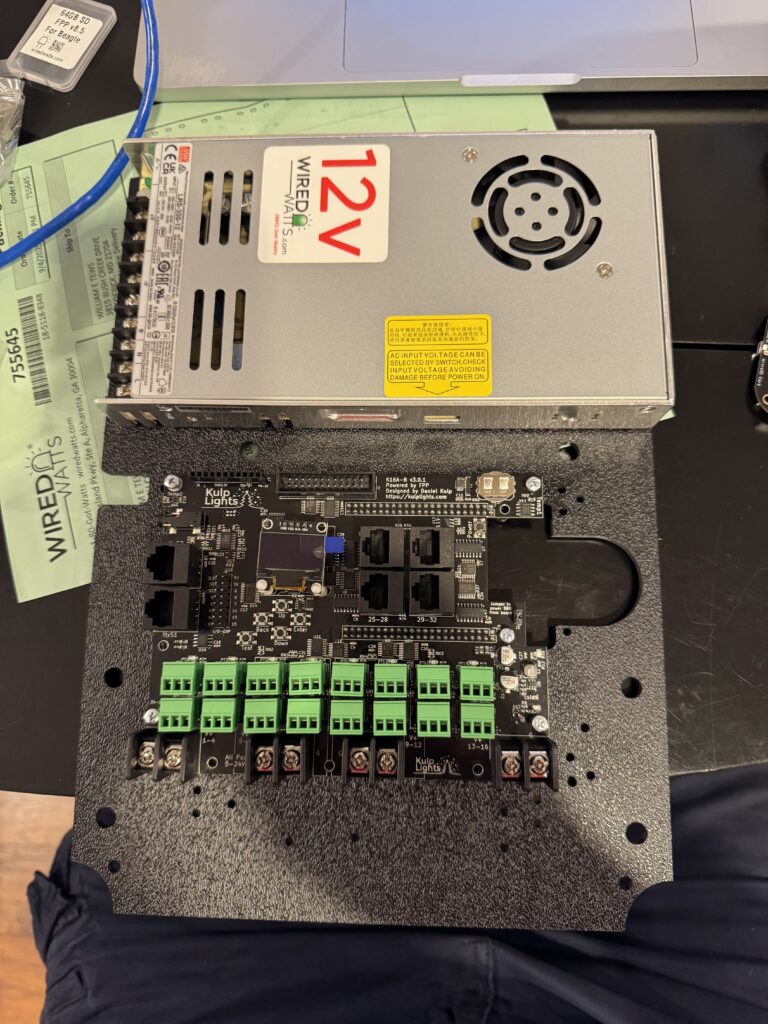
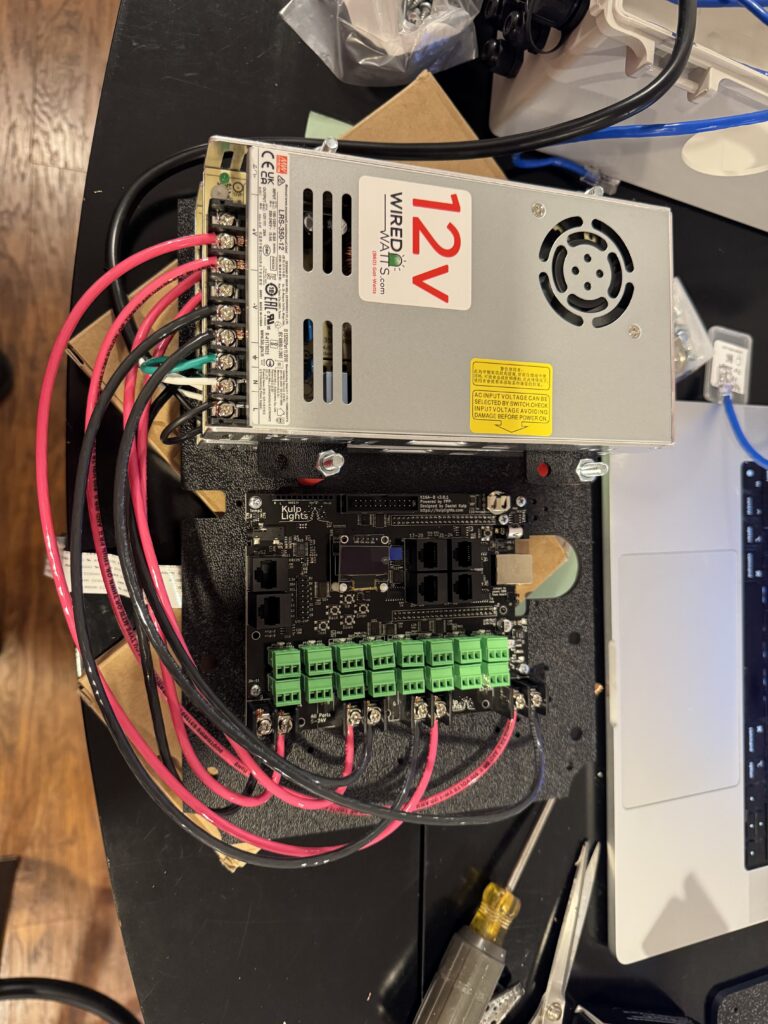
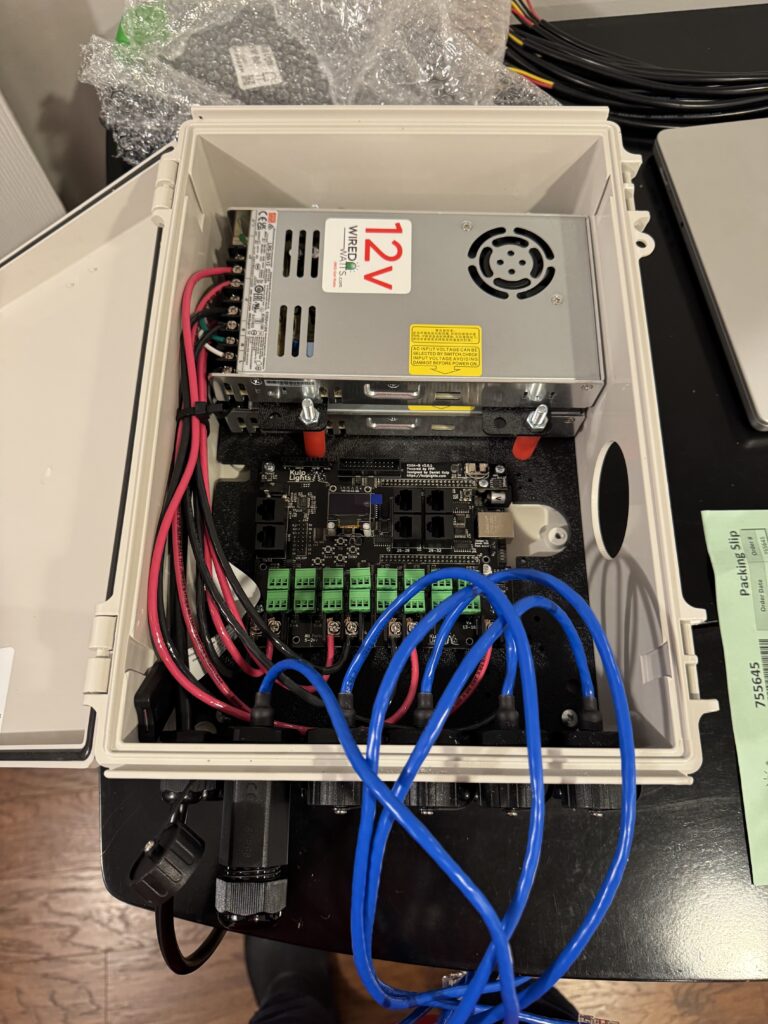
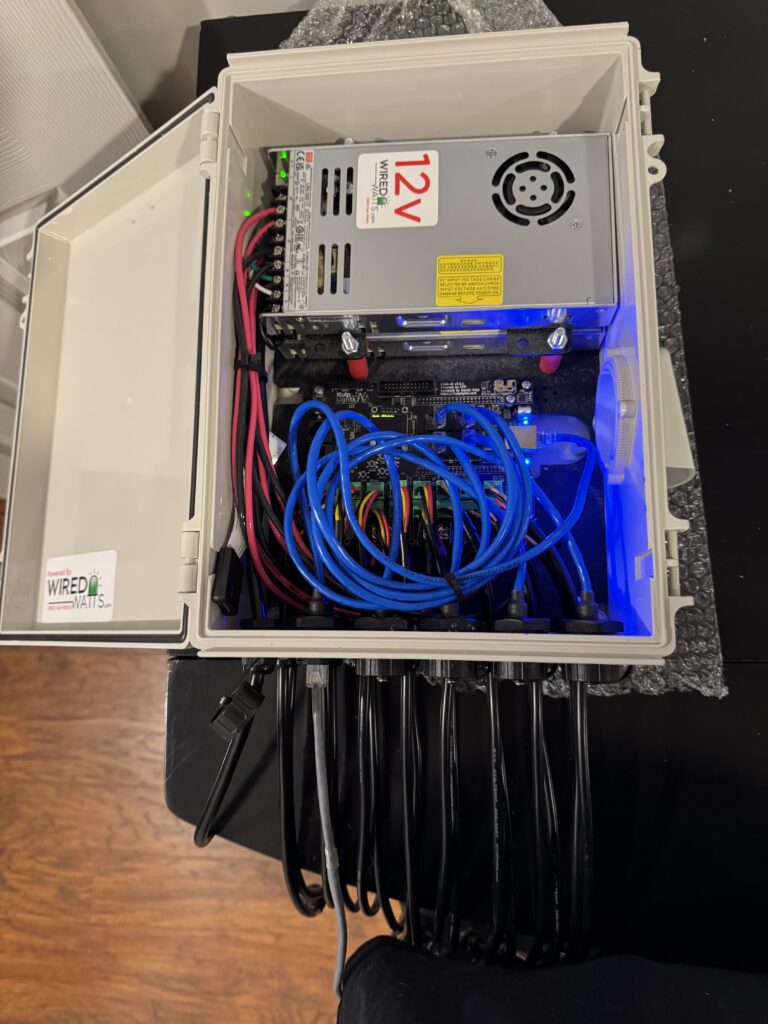
Photos of 16 port Kulp controller with dual 350 watt power supplies and BeagleBone Black
Here’s an article on Wired Watts with assembly instructions for their mounting plate that fits in a Bud Industries NBF-32022 enclosure (very popular enclosure, shown below). Actual steps may vary depending on components purchased.