Twinkly Master Setup Guide
If you are thinking about getting started experimenting with Twinkly Master, this might save you some time. Twinkly Master (TM) was developed by John Lord (Lights of Elberfeld) and provides a number of advanced capabilities that xLights native Twinkly support can’t match. John is frequently online in the Facebook Twinkly (user group) if you have TM questions, and he has helped me out several times. I haven’t found much in the way of written documentation about TM, so as I’ve been figuring it out and setting things up I decided to write it all down while it was still fresh. Hopefully, this will be useful to someone out there!
Contents (click to jump to topic)
- Background
- Installing Twinkly Master
- Twinkly Master Device Setup
- Adding Twinkly Master as a controller in xLights
- Making Twinkly Master The Controller For Existing xLights Models
- “Split” models — one Twinkly string with multiple models
Background
I have been running Twinkly lights in my show for several years, and have been painfully aware of some of the limitations of Twinkly consumer grade lights (low frame rates, WiFi instability) as well as some of the limitations of xLights in supporting Twinkly. John had previously created software called ArtNet2Twinkly, which served as middleware between xLights and Twinkly controllers that helps with some of these issues — but it was only available for Windows and I exclusively run Macs. When John created Twinkly Master as the replacement, he developed both a Mac and a Windows version — which is why I’m finally on board with giving Twinkly Master a try!
Installing Twinkly Master
- Choose what computer you will be using to host Twinkly Master – if you will be using it as part of your light shows, it will need to be left on during the shows, so you probably don’t want to use your primary computer or the one you use to create sequences in xLights (will run on Windows plus ARM or Intel Macs)
- Make sure the computer is plugged directly into your switch with an ethernet cable (avoid WiFi, if possible!) — see article on network topology
- Make sure you use a static IP address for your Twinkly Master computer!
- Download the correct version of software onto the chosen computer from: https://lordorwell.wixsite.com/lights-of-elberfeld/software (opens in new tab)
- All of my advice here is based on the Mac version, so for Windows YMMV
- Install Twinkly Master from the downloaded file (double click it); On Mac, it just sort of runs and hangs out in the background, and should automatically open up a web page
- There will be a little starfish looking icon at the top of the screen, which is the TM icon.
- If you click the starfish, it should tell you the TM version and also give you the option to open a browser tab, which is how you will interact with TM when you need to
Twinkly Master Devices Setup
- This assumes you already have Twinkly lights set up and working with the Twinkly app — if not, see our Twinkly setup guide and get your lights up and running — and please use static IP addresses!
- Information about your Twinkly lights, including IP addresses and any 2D or 3D models you have created in the Twinkly app reside in Twinkly’s cloud
- TM will access this data using your Twinkly login credentials
- If you haven’t already, open a tab in Twinkly Master
- In the top menu bar, click Log On to Twinkly – you will be taken to a Twinkly website
- Enter your Twinkly credentials
- After successful login, TM will have access to all of your Twinkly device information
- Go to the “Twinkly Master – Devices” tab
- Click “Add New Devices”
- You should see a list of all your Twinkly devices registered in the Twinkly app
- Click the checkboxes next to the devices you want to add (or hit select all box)
- Click the “Add Selected” button
- You should now see all of your devices (something like this):
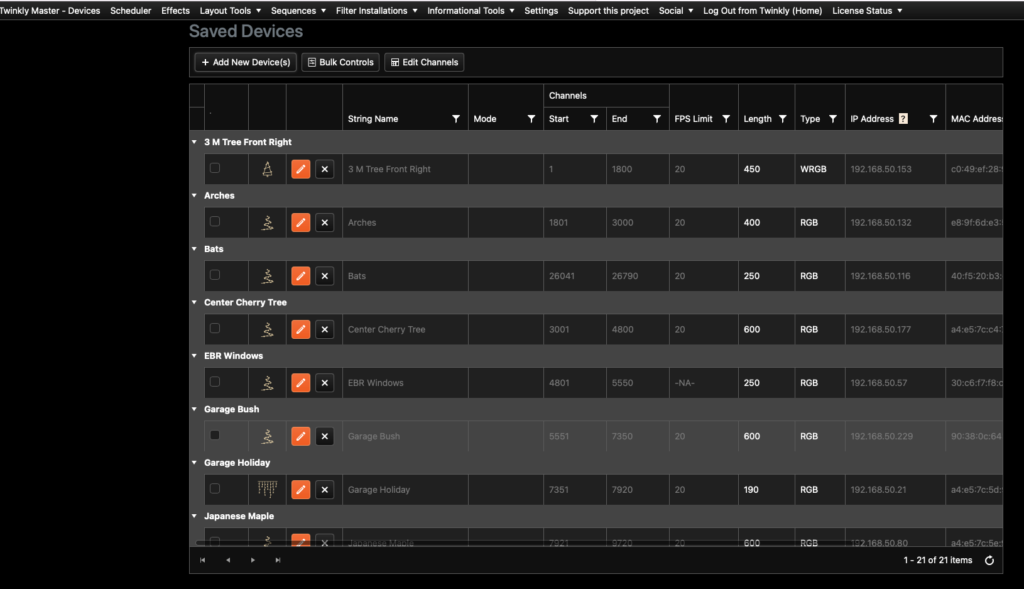
- Devices that are not plugged in and on the network will be greyed out; active ones will be brighter
- If you click the orange pencil, you can change settings for that Twinkly device; for example I have changed all of mine to a 20 frame per second FPS limit to help reduce stuttering during xLights shows, but for now you can leave them alone
- Plug in at least one device to be sure Twinkly Master can control it
- To test this, check the box next to your device (can be more than one), then hit “bulk controls”
- Select “color” or “demo” from the list
- Click “Apply mode to selected devices”
- If all is well, the devices should light up!
- If not, make sure you are on the exact same WiFi network and try again
- When done testing, click “off” in bulk controls and “apply” to turn off the lights
- You can go into “edit channels” if you need to change the default channels TM created — it seems to just go alphabetically and assigns channels in that order
Adding Twinkly Master As A Controller In xLights
- Make sure Twinkly Master is running on the host computer you intend to use for your shows – this computer should have a static IP address
- Go to the xLights “controllers” tab, and hit the “discover” button
- You should see a new controller in your controller list that says “Falcon-F48-TwinklyM-DDP v1.0”
- Click on the new controller in your list and you should see something similar to below, but you will need to adjust a few settings (see bullets #5-7) — the green light means xLights sees the “controller” as actively running
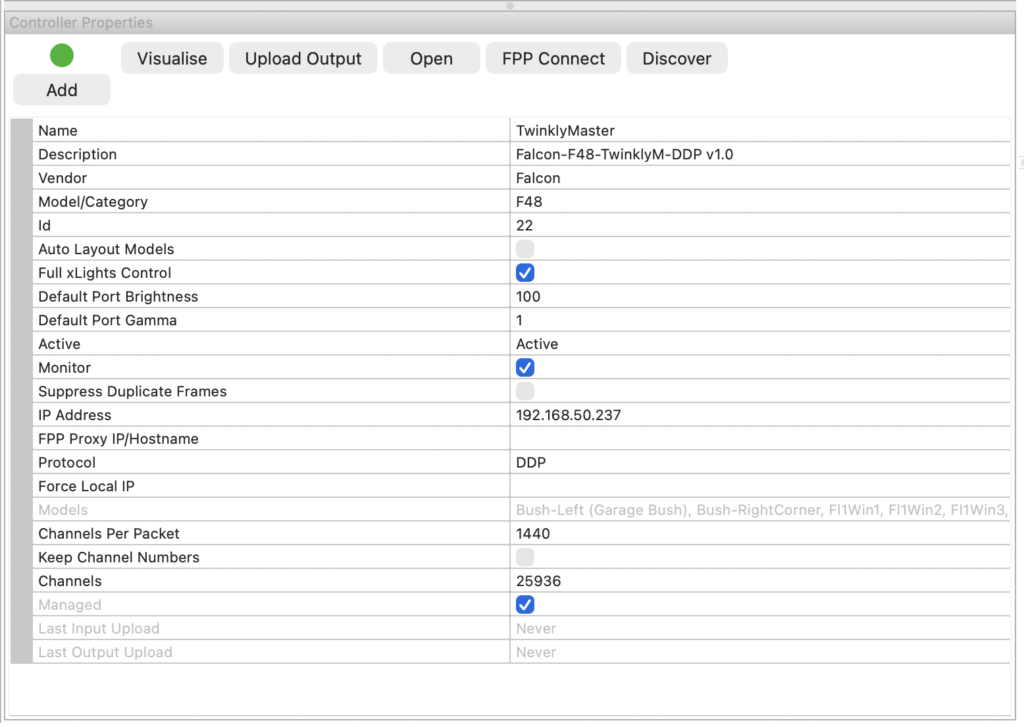
- Change the name to whatever you like (I changed mine to “Twinkly Master”)
- Uncheck “Auto Layout Models”
- Uncheck “Keep Channel Numbers”
- Click “Save” when done
Making Twinkly Master The Controller For Existing xLights Models
In my case, I have been using Twinkly with xLights for a number of years with the native support built into xLights. This means I already have many layouts and sequences designed around these devices that I didn’t want to rebuild from scratch. Instead, I decided to re-map my existing models to the new Twinkly Master controller instead of directly to the Twinkly controllers as they have been.
- Copy entire show folder and rename it to something new – like “XMAS 2026 TM” or whatever in case you need revert to your old layout
- This works for models that use an entire Twinkly string (e.g. all 600 lights on a 600 string) – more on “split” models below
- Open xLights, then open the new show folder you just created
- Be sure that “auto layout models” in unchecked in the Twinkly Master controller setup!
- If you leave auto layout on, you risk xLights changing channel numbers
- By using manual layout you ensure that the channel numbers stay aligned with what’s in Twinkly Master
- Go back to Twinkly Master devices tab (or print out a list of all of your TM models, including start channel number)
- Go to the first TM device in the list, which should start with channel 1
- Go back to xLights and xLights and click the models tab
- Go to the first device from TM and click on it
- If you are using imported xModels from 2D coro props or native xLights models, these should work fine as-is
- If you have previously imported 3D models from the Twinkly controllers into xLights, these may be missing pixels, which will throw off the channel mapping! In this case you should export the xModels from Twinkly Master for those props, and import them into xLights, replacing the old 3D models — this will ensure all of your pixels are captured.
- You should get a window that looks similar to this:
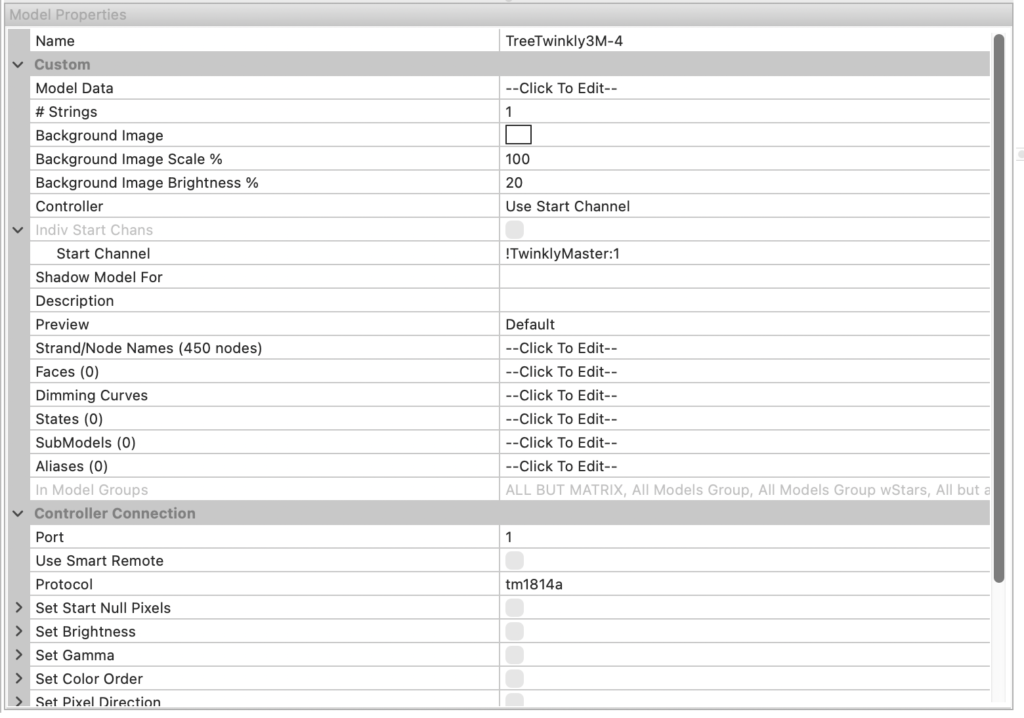
- Right now you probably have your model pointing toward a Twinkly controller directly — change the controller field to “Use Start Channel”
- Under start channel, you need to make it something like “!TwinklyMaster:1” (without the quotes) — the exclamation point is important. “TwinklyMaster” is whatever you named your controller. 1 after the colon is the starting channel number of the device.
- Scroll down to protocol — right now it’s probably “Twinkly” — if your have standard Twinkly RGB bulbs, change it to “WS2811” (standard 3 channel); if you have Twinkly RGBW change it to “tm1814a” so it know you have 4 channel bulbs.
- Hit save
- Jump back to the controllers tab and find the original Twinkly controller for the device; set it to “inactive” (or you can delete it entirely if you like – maybe after you validate the first one works); hit save
- Make sure the device is plugged in and connected to WiFi
- In xLights top menu, go to “Tools”, “Test”
- Click the models tab in the test window, and select the model you just modified
- Choose one of the test modes and validate that xLights can control the lights via Twinkly Master
- Assuming this works, repeat this section for however many Twinkly devices you have, working in the same order as the list from Twinkly Master, and using the start channel for each device from TM
What about “split” models — one Twinkly string with multiple models?
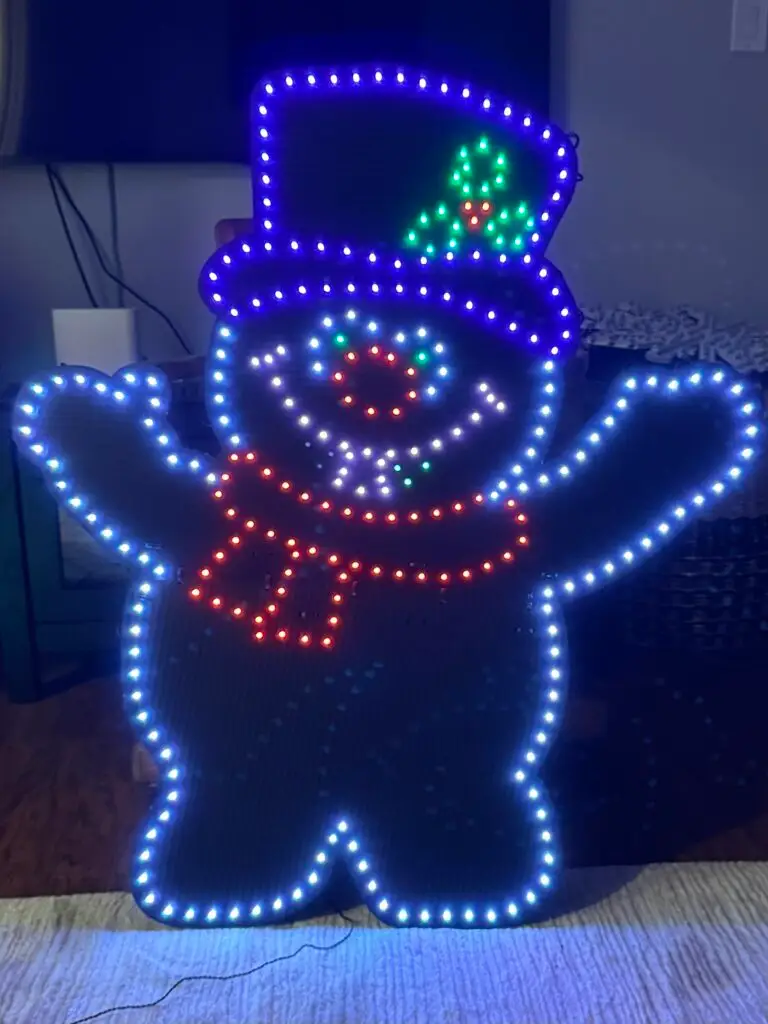
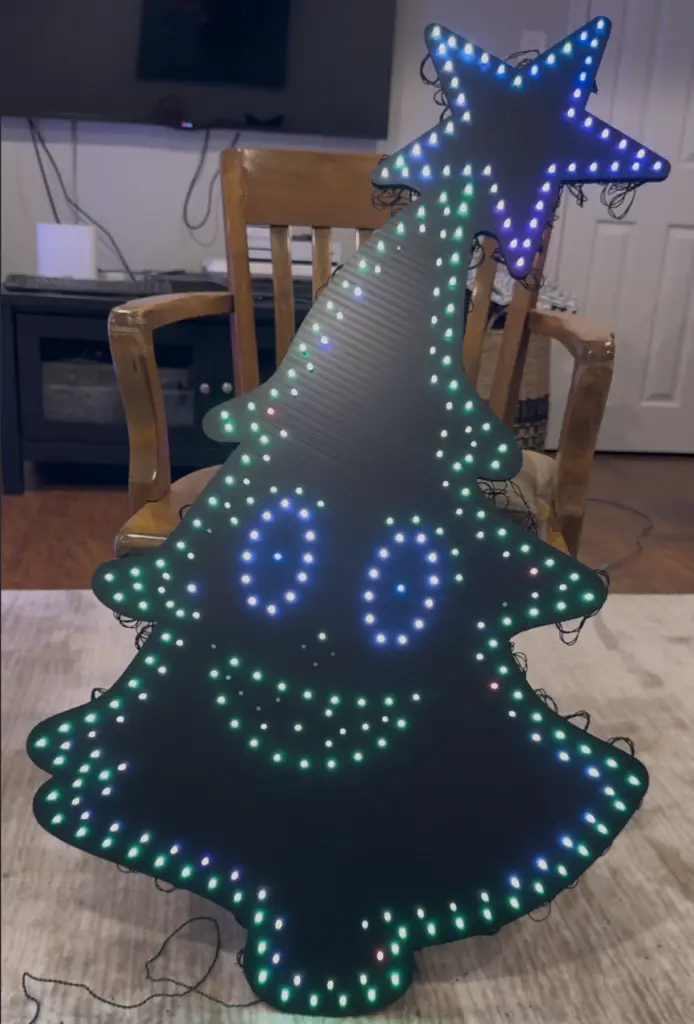
- For “split” models — for example each one of the two strands on a 600 go to a singing coro prop (or whatever) — can be as many “splits” as you want (see photos below of two 300 pixel props on one Twinkly controller)
- See article on identifying Twinkly pixel #1 if you don’t know where your split string starts
- In the case of a split model, the first model on that Twinkly controller will use the model number from Twinkly Master
- Subsequent models on that Twinkly controller will need to be calculated (either manually, or I created a simple spreadsheet)
- Take the starting model number from TM, then add the number of bulbs times 3 for RGB lights or time 4 for RGBW lights; this will be the starting channel of the 2nd model on that string
- Example starting with channel 1 on a Twinkly 600 string: 1+(300*3)=901 would be the starting channel for the second model using 300 bulbs for model 1 (channel 1) and 300 for model 2 (channel 901)
- Test the models per bullet #16 above
- Repeat as needed